
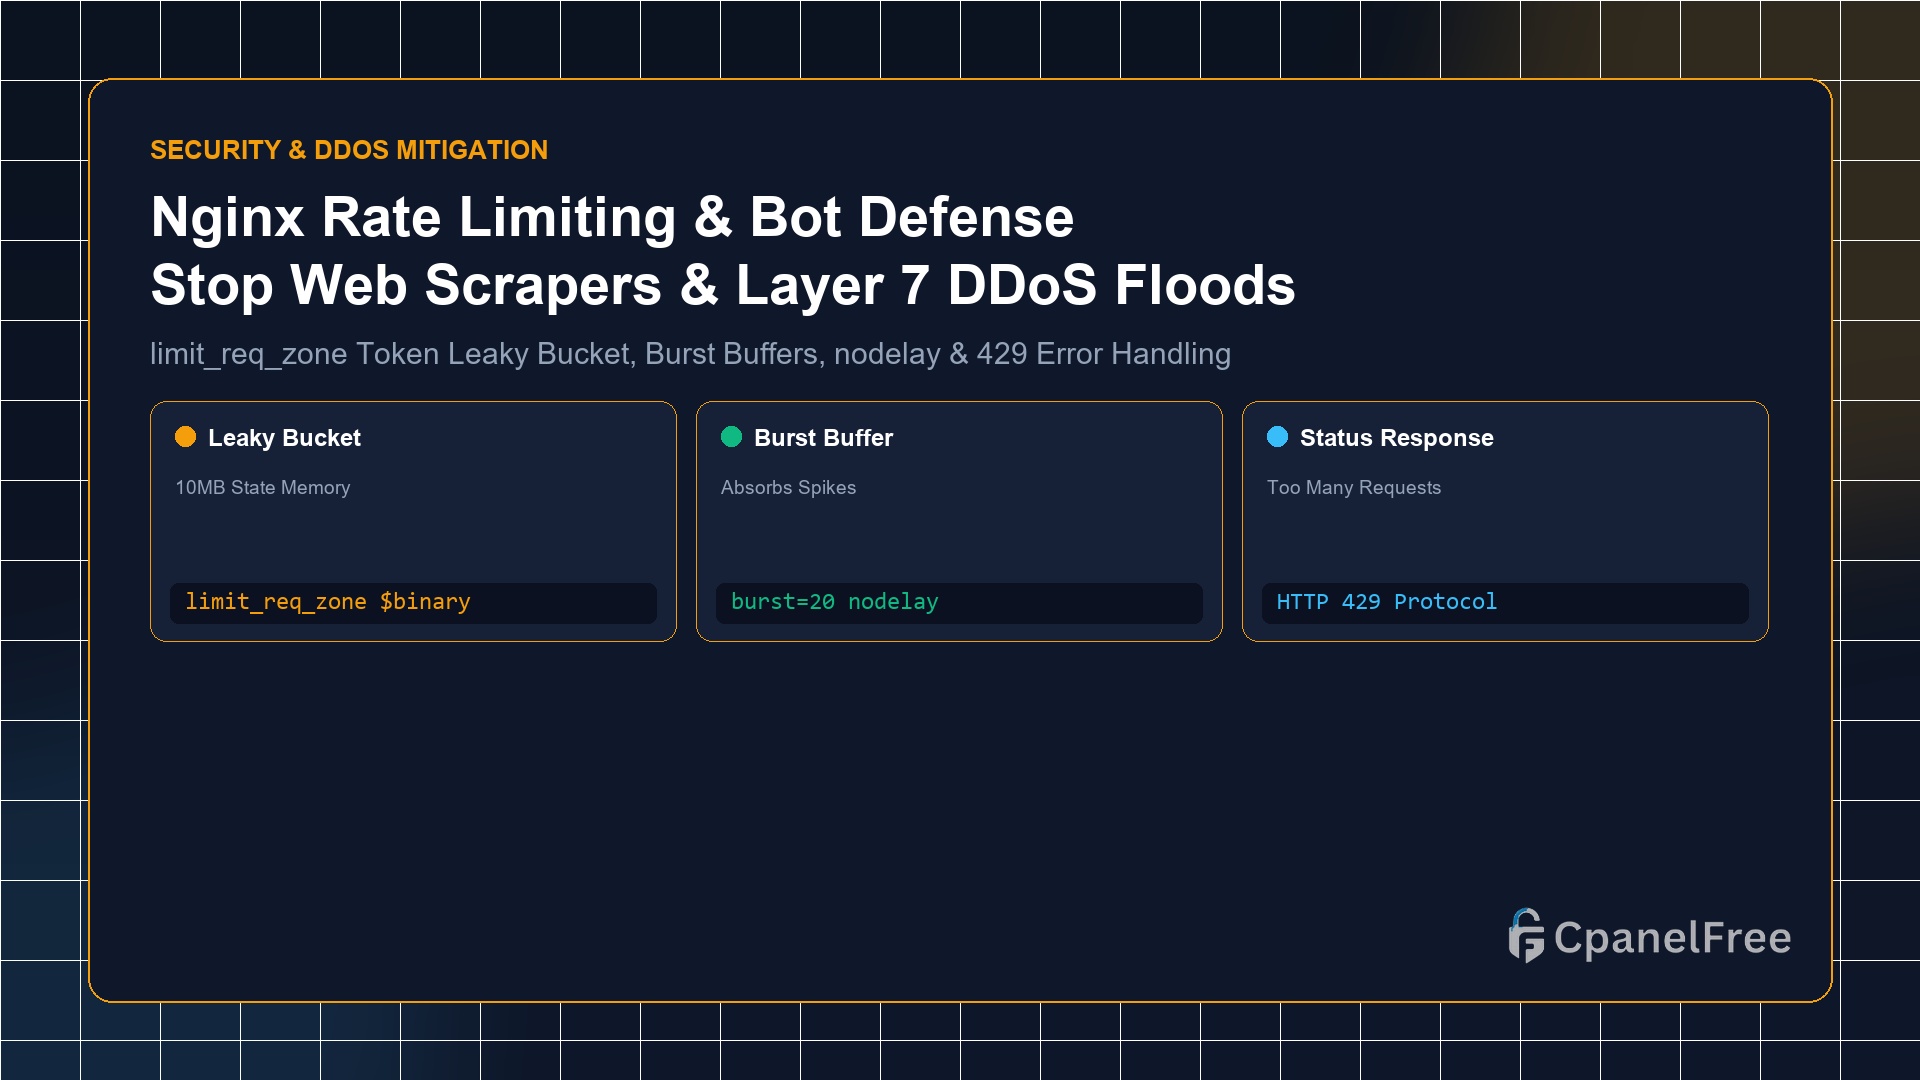
To enforce rate limiting in Nginx: In the http {} block of /etc/nginx/nginx.conf, define a shared memory zone: limit_req_zone $binary_remote_addr zone=api_limit:10m rate=10r/s;. Then apply it to sensitive endpoints (such as wp-login.php or /api/) inside your server {} block: limit_req zone=api_limit burst=20 nodelay; and configure limit_req_status 429;. This buffers legitimate user spikes while dropping malicious bot floods.
Why Application Layer (Layer 7) DDoS Floods Overwhelm Unprotected Web Servers
Unlike volumetric network floods (such as UDP reflection attacks) that can be mitigated upstream by data center firewalls, Application Layer (Layer 7) attacks mimic legitimate human HTTP requests. An attacker targeting search endpoints (e.g. /?s=query) or login portals (/wp-login.php) can launch 5,000 requests per second from a residential proxy network.
Because each of these dynamic queries triggers PHP execution, database table locks, and memory allocation, a low-cost botnet can easily drive server CPU utilization to 100% and exhaust MySQL database connection pools, bringing down a business website on an otherwise powerful cloud VPS.
Nginx provides an ultra-high-speed, in-memory rate limiting module built on the leaky bucket algorithm. Operating in compiled C with binary IP representations, Nginx processes rate limiting checks in less than 5 microseconds per request—terminating abusive bots before they ever touch your backend application code.
Step 1: Understanding the Leaky Bucket Algorithm
Imagine a bucket with a small hole at the bottom. Water (incoming HTTP requests) enters the bucket at random speeds and leaks out at a constant, controlled rate. If the bucket overflows (excessive request velocity), any additional incoming water spills over (requests are rejected with HTTP 429 Too Many Requests).
Step 2: Defining Rate Limiting Zones in nginx.conf
Open your main Nginx configuration file:
sudo nano /etc/nginx/nginx.confInside the http { ... } context, define specialized memory zones for different application tiers:
http {
    # 1. Standard API Rate Limit: 10 requests/second per IP
    limit_req_zone $binary_remote_addr zone=api_limit:10m rate=10r/s;

    # 2. Strict Authentication & Login Rate Limit: 1 request/second per IP
    limit_req_zone $binary_remote_addr zone=login_limit:10m rate=1r/s;

    # 3. Aggressive Bot Scraper Limit: 5 requests/minute per IP
    limit_req_zone $binary_remote_addr zone=search_limit:10m rate=5r/m;

    # Return standard HTTP 429 (Too Many Requests) instead of 503
    limit_req_status 429;

    # Log rate-limited requests at warning level
    limit_req_log_level warn;
}
Why $binary_remote_addr? The standard $remote_addr variable stores IPv4 addresses as text strings (7 to 15 bytes). The $binary_remote_addr variable stores IPv4 addresses in binary form (always 4 bytes) and IPv6 in 16 bytes. A 10MB memory zone can track roughly 160,000 distinct IP addresses simultaneously in high-speed RAM.
Step 3: Applying Rules to Server Blocks and Locations
Open your site’s server block configuration:
sudo nano /etc/nginx/sites-available/yourdomain.confApply rate limits with appropriate burst and nodelay parameters:
server {
    listen 443 ssl http2;
    server_name yourdomain.com;

    # Protect WordPress Login / Admin Authentication
    location = /wp-login.php {
        limit_req zone=login_limit burst=3 nodelay;
        include snippets/fastcgi-php.conf;
        fastcgi_pass unix:/run/php/php8.3-fpm.sock;
    }

    # Protect Search & Heavy Database Query Endpoints
    location /search/ {
        limit_req zone=search_limit burst=5;
        proxy_pass http://127.0.0.1:3000;
    }

    # General REST API Protection
    location /api/ {
        limit_req zone=api_limit burst=20 nodelay;
        proxy_pass http://127.0.0.1:3000;
    }

    # Standard Static & Page Traffic
    location / {
        try_files $uri $uri/ /index.php?$args;
    }
}
Step 4: The Crucial Difference Between burst and nodelay
| Configuration Syntax | Queue Behavior | User Experience Impact |
|---|---|---|
limit_req zone=api_limit; |
Zero buffer; any 2nd request in the same 100ms interval drops instantly. | Breaks web pages loading multiple CSS/JS assets concurrently. |
limit_req zone=api_limit burst=20; |
Allows 20 requests into queue, but delays delivery to match exact rate. | Assets load slowly with artificial latency pauses. |
limit_req zone=api_limit burst=20 nodelay; |
Processes up to 20 burst requests instantly; rejects excess. | Ideal for real humans; stops high-velocity automated scrapers. |
Step 5: Testing Rate Limiting with ApacheBench (ab)
Verify that your rate limits trigger correctly using the ApacheBench benchmarking tool:
# Send 50 concurrent requests to test endpoint
ab -n 50 -c 10 https://yourdomain.com/api/test

# Inspect Nginx error log to observe rate limit triggers
sudo tail -f /var/log/nginx/error.log | grep "limiting requests"
Frequently Asked Questions (FAQ)
How do I whitelist search engine crawlers like Googlebot from rate limits?
Use an Nginx geo mapping block to set a variable (e.g. $limit = 0 for trusted IP CIDR blocks, and $binary_remote_addr for the public internet). When the mapping returns 0 or an empty string, Nginx skips rate limiting entirely.
What is the difference between limit_req and limit_conn?
limit_req restricts the velocity of requests over time (e.g. requests per second). limit_conn restricts the number of concurrent open TCP connections from a single IP address (e.g. stopping users from opening 50 simultaneous file download streams).
🔗 Recommended Related Technical Guides
Deploy DDoS-Resilient Infrastructure on CpanelFree
Shield your applications with hardware DDoS filters, dedicated vCPU resources, and high-performance Nginx hosting on CpanelFree.