
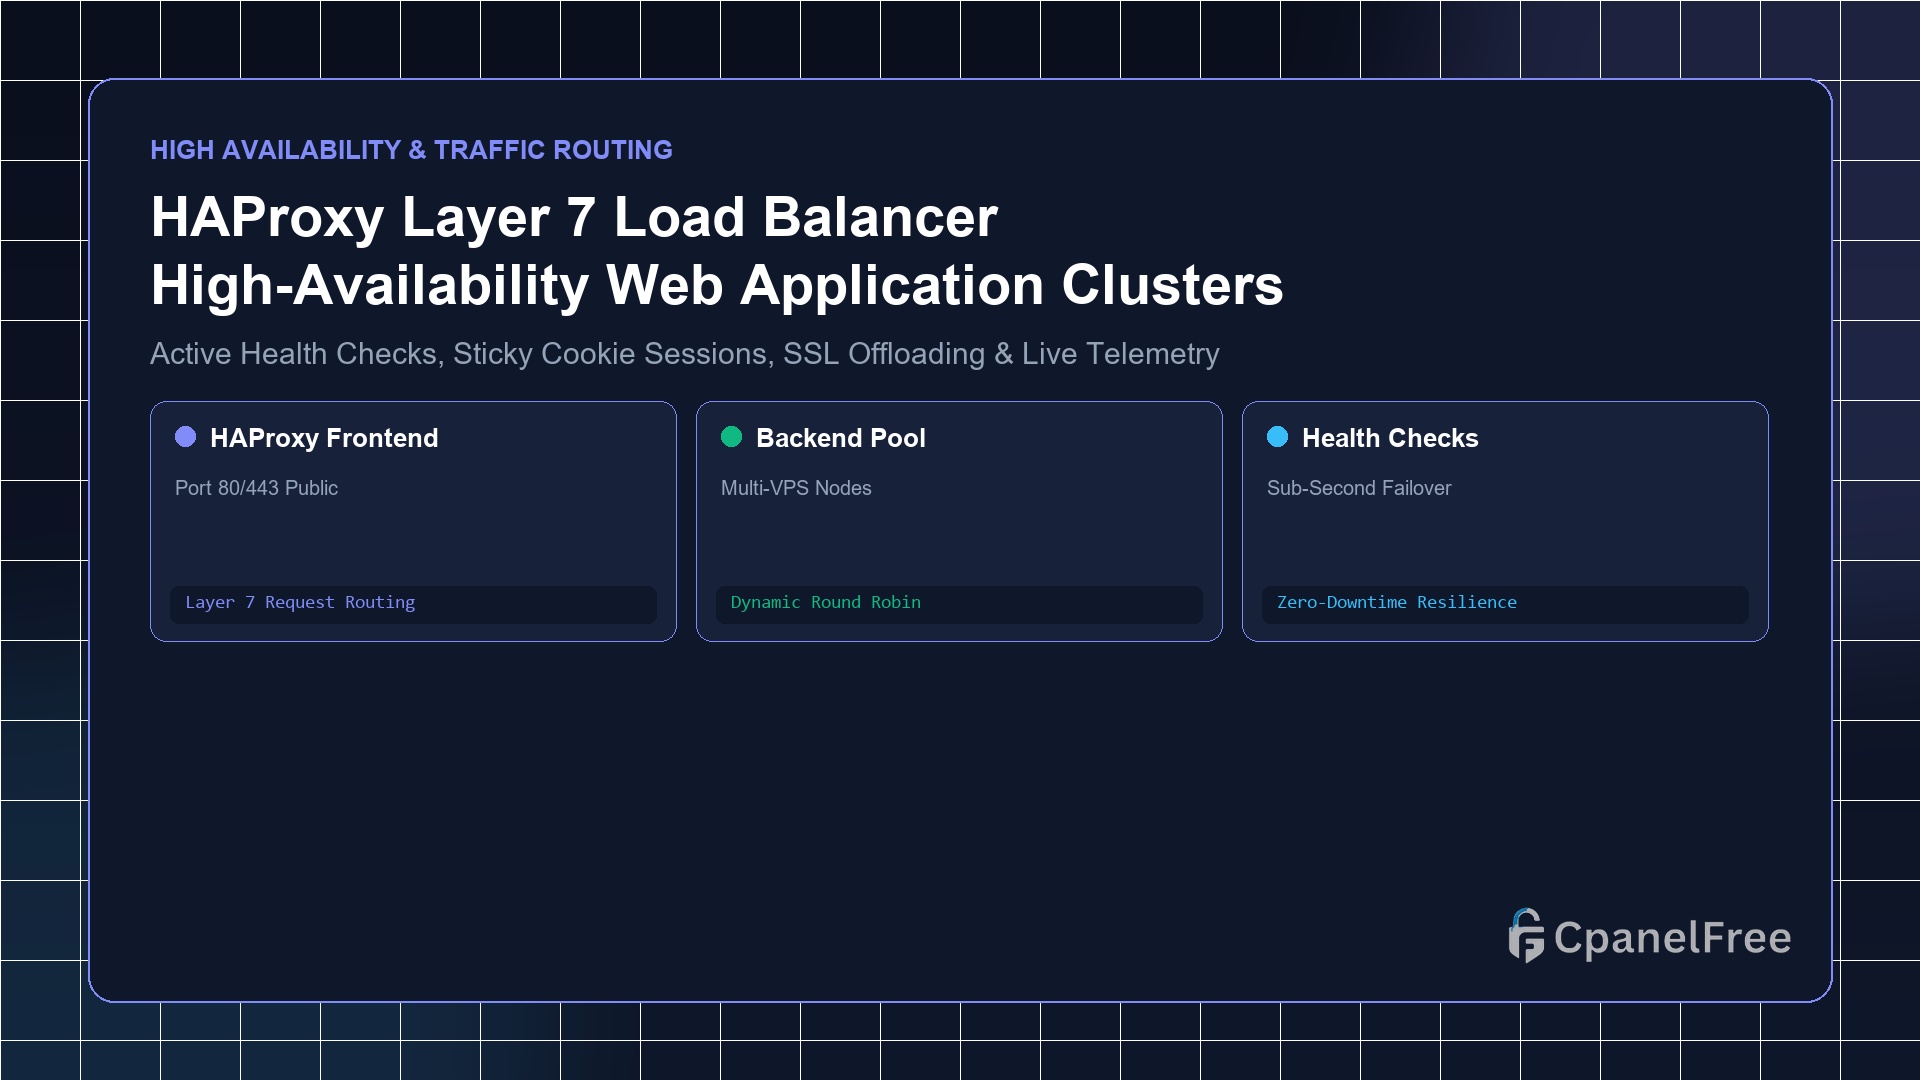
To deploy HAProxy as an HTTP/HTTPS Layer 7 load balancer on Ubuntu: Install with sudo apt install -y haproxy. Edit /etc/haproxy/haproxy.cfg to define a frontend http_front listening on port 80/443 and a backend web_servers containing your application node IP addresses with balance roundrobin and check enabled for continuous health monitoring. Enable the live statistics dashboard at /haproxy?stats to monitor backend health in real time.
The Limits of Single-Server Hosting & The Need for Load Balancing
When a web application grows beyond a single cloud VPS, you inevitably hit physical hardware limits: maximum CPU cores, RAM saturation, and single-point-of-failure (SPOF) risks during server reboots or network maintenance. If your sole web server crashes, your entire business goes offline.
HAProxy (High Availability Proxy) is the industry’s premier open-source software load balancer, powering infrastructure for GitHub, Reddit, Stack Overflow, and AWS. Capable of processing over 100,000 requests per second with microsecond latency, HAProxy distributes incoming client traffic intelligently across a farm of backend web servers while monitoring server health in real time.
Layer 4 vs Layer 7 Load Balancing Explained
- Layer 4 (TCP / Transport Layer): Routes raw packets based strictly on IP addresses and TCP port numbers without inspecting HTTP contents. Extremely fast, but cannot inspect URL paths, cookies, or HTTP headers.
- Layer 7 (Application Layer): Decodes the HTTP/HTTPS protocol. HAProxy can inspect HTTP request paths (e.g. routing
/apito Node.js and/staticto Nginx), read session cookies for sticky sessions, terminate SSL, and inject tracking headers.
Step 1: Installing HAProxy on Ubuntu Linux VPS
Install the latest stable HAProxy release from the official repository:
# Install HAProxy
sudo apt update && sudo apt install -y haproxy

# Verify HAProxy version
haproxy -v
Step 2: Constructing a Production haproxy.cfg
Backup the default configuration and construct an optimized Layer 7 profile:
sudo cp /etc/haproxy/haproxy.cfg /etc/haproxy/haproxy.cfg.bak
sudo nano /etc/haproxy/haproxy.cfg
Insert the following battle-tested configuration:
global
    log /dev/log local0
    log /dev/log local1 notice
    chroot /var/lib/haproxy
    user haproxy
    group haproxy
    daemon
    maxconn 50000

defaults
    log     global
    mode    http
    option  httplog
    option  dontlognull
    option  forwardfor
    retries 3
    timeout connect 5000ms
    timeout client  50000ms
    timeout server  50000ms

# Public Frontend (Listening for Traffic)
frontend http_in
    bind *:80
    mode http

    # Path-Based Routing Example
    acl is_api path_beg /api
    use_backend api_cluster if is_api

    default_backend web_cluster

# Primary Web Application Backend Pool
backend web_cluster
    mode http
    balance roundrobin
    option httpchk GET /health
    http-check expect status 200

    # Cookie-based sticky sessions
    cookie SERVERID insert indirect nocache

    # Backend VPS Nodes (IPs and Ports)
    server web-01 10.0.0.11:80 check cookie web01 inter 2s fall 3 rise 2
    server web-02 10.0.0.12:80 check cookie web02 inter 2s fall 3 rise 2
    server web-backup 10.0.0.13:80 check backup

# Dedicated API Backend Pool
backend api_cluster
    mode http
    balance leastconn
    option httpchk GET /api/ping
    server api-01 10.0.0.21:3000 check inter 2s
    server api-02 10.0.0.22:3000 check inter 2s

# Live Interactive Telemetry Dashboard
listen stats
    bind *:8404
    mode http
    stats enable
    stats uri /
    stats refresh 5s
    stats auth admin:SuperSecurePassword123!
Step 3: Understanding Health Checking & Failover Mechanics
The directive check inter 2s fall 3 rise 2 instructs HAProxy to probe each backend server every 2 seconds by sending an HTTP request to /health:
- If a server fails to return an HTTP 200 response 3 consecutive times (
fall 3), HAProxy instantly marks it offline and stops routing client traffic to it. - When the server recovers and returns valid responses 2 consecutive times (
rise 2), HAProxy smoothly rejoins it to the live cluster. - If all primary servers fail, HAProxy instantly routes traffic to the designated
backupnode.
Step 4: Validating Configuration & Starting the Service
Always perform a syntax check before reloading the daemon:
# Check syntax validity
sudo haproxy -c -f /etc/haproxy/haproxy.cfg

# Restart HAProxy to apply configuration
sudo systemctl restart haproxy
sudo systemctl enable haproxy
Navigate to http://YOUR_LOAD_BALANCER_IP:8404 in your browser to inspect the visual HAProxy Stats console, showing real-time green/red health indicators, active sessions, and byte throughput per backend node.
Frequently Asked Questions (FAQ)
What is the difference between HAProxy and Nginx as load balancers?
While Nginx is a general-purpose web server that can also load balance, HAProxy is an uncompromising dedicated proxy engine. HAProxy provides superior deep health checking (HTTP string matching, regex checks), rich dynamic statistics, and lower latency under extreme connection concurrency.
Can HAProxy balance databases like MySQL or PostgreSQL?
Yes! By switching to mode tcp (Layer 4), HAProxy load balances database read queries across Galera, MariaDB, and PostgreSQL read-replicas with sub-millisecond overhead.
🔗 Recommended Related Technical Guides
Build High-Availability Server Clusters on CpanelFree
Connect multiple cloud VPS instances across low-latency private networks with zero data-transfer fees on CpanelFree.
HAProxy High-Availability Keepalived Clustering & Health Probes
To prevent the HAProxy instance itself from becoming a single point of failure (SPOF), pair HAProxy with Keepalived using Virtual Router Redundancy Protocol (VRRP). This architecture ensures instantaneous failover between dual load-balancing nodes:
- Shared Virtual IP (VIP): Keepalived assigns a shared floating IP address across two active-passive HAProxy servers. If node 1 drops packet response, node 2 takes over the VIP within sub-second intervals.
- Strict Layer 7 Health Probes: Standard TCP port pings (Layer 4) are insufficient for modern microservices because a deadlocked web server will still accept TCP handshakes. Configure HTTP health probes with explicit status validation:
backend dynamic_cluster mode http balance roundrobin option httpchk GET /health HTTP/1.1\r\nHost:\ api.example.com http-check expect status 200 server web1 10.0.0.10:8080 check inter 2s rise 2 fall 3 server web2 10.0.0.11:8080 check inter 2s rise 2 fall 3 - Real-Time Statistical Monitoring: Utilize HAProxy’s built-in
stats socketover a UNIX domain socket (/var/run/haproxy.sock). Administrators can dynamically drain traffic from backend nodes for maintenance without restarting the daemon viaecho "disable server dynamic_cluster/web1" | socat stdio /var/run/haproxy.sock.