
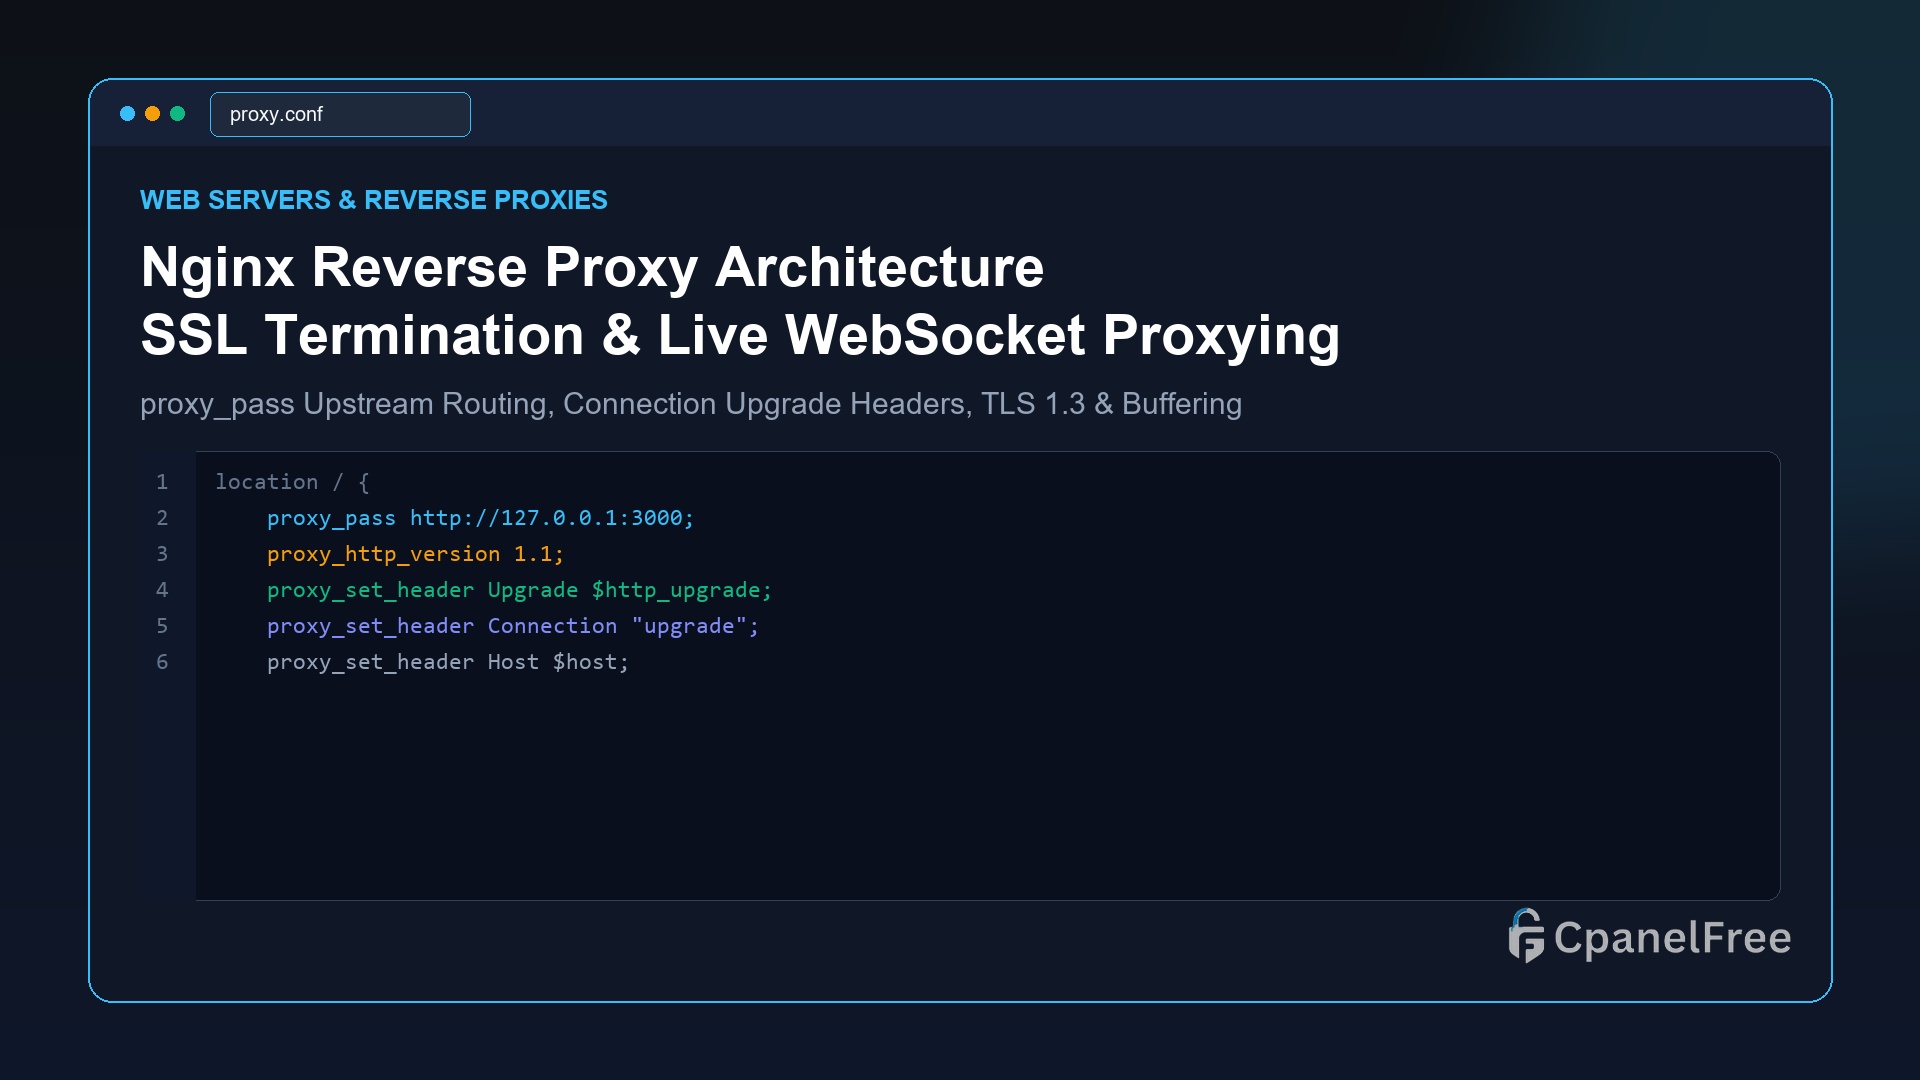
To route incoming traffic to backend applications (Node.js, Python FastAPI, Go, or Docker) with Nginx: Define an upstream block or use proxy_pass http://127.0.0.1:3000; inside your location / block. Always forward client IP headers using proxy_set_header X-Real-IP $remote_addr; and proxy_set_header X-Forwarded-For $proxy_add_x_forwarded_for;. For WebSockets, add proxy_http_version 1.1;, proxy_set_header Upgrade $http_upgrade;, and proxy_set_header Connection "upgrade";. Terminate SSL certificates with Certbot using sudo certbot --nginx -d yourdomain.com.
Why Nginx Is the Industry Standard Reverse Proxy for Cloud Infrastructure
In modern web development, running application runtimes (such as Node.js, Python Gunicorn, Ruby Puma, or Spring Boot) directly exposed on public TCP port 80 or 443 is an architectural security liability. Application servers are optimized for business logic execution, not for handling thousands of slow network clients, terminating complex cryptographic TLS handshakes, or absorbing volumetric HTTP flood attacks.
An Nginx Reverse Proxy sits at the edge of your cloud VPS network, serving as the frontline entry point. When incoming requests arrive:
- SSL Termination: Nginx offloads CPU-intensive TLS 1.3 encryption, sending unencrypted, ultra-fast loopback HTTP packets to local applications over
127.0.0.1or Unix domain sockets. - Static Asset Offloading: Nginx serves CSS, images, and JavaScript directly from disk at near-zero CPU cost without invoking runtime application workers.
- WebSocket & HTTP/2 Multiplexing: Nginx converts single-threaded client connections into multiplexed streams, keeping client connections persistent without tying up backend server threads.
Step 1: Installing and Hardening Base Nginx on Ubuntu VPS
Ensure your Linux VPS contains the latest mainline Nginx build with HTTP/2 and OpenSSL support:
# Install Nginx and Certbot
sudo apt update && sudo apt install -y nginx certbot python3-certbot-nginx

# Verify active status
sudo systemctl enable --now nginx
sudo systemctl status nginx
Step 2: Constructing a Complete Production Reverse Proxy Configuration
Create a dedicated server configuration file inside /etc/nginx/sites-available/:
sudo nano /etc/nginx/sites-available/app.confInsert the following battle-tested configuration incorporating upstream pools, SSL termination, and WebSocket support:
upstream backend_nodes {
    # Define local application daemon or multiple microservice instances
    server 127.0.0.1:3000 max_fails=3 fail_timeout=10s;
    server 127.0.0.1:3001 backup;
    keepalive 32;
}

server {
    listen 80;
    server_name api.yourdomain.com;

    # Enforce automated HTTPS redirect
    return 301 https://$host$request_uri;
}

server {
    listen 443 ssl http2;
    server_name api.yourdomain.com;

    # SSL Configuration (Certbot will manage certificate paths)
    ssl_certificate /etc/letsencrypt/live/api.yourdomain.com/fullchain.pem;
    ssl_certificate_key /etc/letsencrypt/live/api.yourdomain.com/privkey.pem;
    ssl_protocols TLSv1.2 TLSv1.3;
    ssl_ciphers HIGH:!aNULL:!MD5;
    ssl_prefer_server_ciphers on;
    ssl_session_cache shared:SSL:10m;
    ssl_session_timeout 1d;

    # Security Headers
    add_header X-Frame-Options "SAMEORIGIN" always;
    add_header X-XSS-Protection "1; mode=block" always;
    add_header X-Content-Type-Options "nosniff" always;
    add_header Referrer-Policy "strict-origin-when-cross-origin" always;

    # Root Reverse Proxy Location
    location / {
        proxy_pass http://backend_nodes;

        # Identity Headers
        proxy_set_header Host $host;
        proxy_set_header X-Real-IP $remote_addr;
        proxy_set_header X-Forwarded-For $proxy_add_x_forwarded_for;
        proxy_set_header X-Forwarded-Proto $scheme;

        # WebSocket Streaming Support
        proxy_http_version 1.1;
        proxy_set_header Upgrade $http_upgrade;
        proxy_set_header Connection "upgrade";

        # Buffer & Timeout Optimization
        proxy_connect_timeout 60s;
        proxy_send_timeout 60s;
        proxy_read_timeout 60s;
        proxy_buffering on;
        proxy_buffer_size 8k;
        proxy_buffers 16 8k;
    }

    # Serve Static Assets Directly from Disk (Bypassing Backend)
    location ~* \.(jpg|jpeg|png|gif|ico|css|js|woff2|webp|svg)$ {
        root /var/www/myproject/public;
        expires 30d;
        add_header Cache-Control "public, no-transform";
        access_log off;
    }
}
Step 3: Enabling the Site & Generating Let’s Encrypt SSL
Link the configuration file to sites-enabled, test the syntax, and provision trusted Let’s Encrypt TLS certificates:
# Create symbolic link
sudo ln -s /etc/nginx/sites-available/app.conf /etc/nginx/sites-enabled/

# Test Nginx syntax validation
sudo nginx -t

# Reload Nginx daemon
sudo systemctl reload nginx

# Request automated Let's Encrypt SSL certificate
sudo certbot --nginx -d api.yourdomain.com --non-interactive --agree-tos -m [email protected]
Step 4: WebSocket Proxying Deep Dive
Standard HTTP/1.0 proxies terminate connections after a single request-response cycle. Real-time protocols (such as Socket.IO, GraphQL Subscriptions, and WebRTC signaling) rely on the HTTP Upgrade mechanism to transform the TCP connection into an open, persistent, bidirectional WebSocket channel.
Without the following three directives, Nginx will drop WebSocket handshakes with an HTTP 400 Bad Request error:
proxy_http_version 1.1;: Mandates HTTP/1.1 protocol, which supports persistent connection handshakes.proxy_set_header Upgrade $http_upgrade;: Forwards the client’s WebSocket upgrade header to the backend application.proxy_set_header Connection "upgrade";: Prevents Nginx from defaulting the Connection header toclose.
Step 5: Upstream Balancing Strategies in Nginx
| Load Balancing Algorithm | Nginx Directive | Best Use Case |
|---|---|---|
| Round Robin (Default) | None (Implicit) | Equally powered backend servers handling uniform request workloads. |
| Least Connections | least_conn; |
Long-running requests, WebSocket servers, or database reports. |
| IP Hash | ip_hash; |
Sticky sessions where users must remain pinned to the same backend server. |
| Weighted Distribution | server ip weight=3; |
Heterogeneous server clusters where one VPS has more CPU/RAM than others. |
Pro Sysadmin Tip: Tuning proxy_buffers to Prevent Disk Thrashing
By default, when a backend application emits a large JSON payload or file, Nginx buffers the response in RAM. If the response exceeds proxy_buffers memory allocation, Nginx writes the overflow to disk files under /var/lib/nginx/proxy/, causing sudden disk I/O latency spikes. For high-throughput JSON APIs, set proxy_buffer_size 16k; and proxy_buffers 32 16k; to ensure all responses stream entirely in high-speed RAM.
Frequently Asked Questions (FAQ)
Why does my application report 127.0.0.1 for every visitor IP address?
Because Nginx is acting as an intermediary, all TCP connections to your backend originate from the local loopback address. Your application must be configured to trust the X-Forwarded-For or X-Real-IP HTTP header (for Express: app.set('trust proxy', true); for Laravel: configure TrustProxies middleware).
What causes “502 Bad Gateway” in an Nginx reverse proxy?
A 502 error indicates that Nginx is running properly, but the backend application service (Node, Python, PHP-FPM) on port 3000 is either stopped, crashed, or not listening on the specified IP/port. Inspect backend service status using sudo systemctl status yourapp.
🔗 Recommended Related Technical Guides
Deploy High-Throughput Web Proxies on CpanelFree Cloud VPS
Handle tens of thousands of concurrent connections effortlessly with dedicated vCPU compute, NVMe caching, and unmetered network uplinks.