
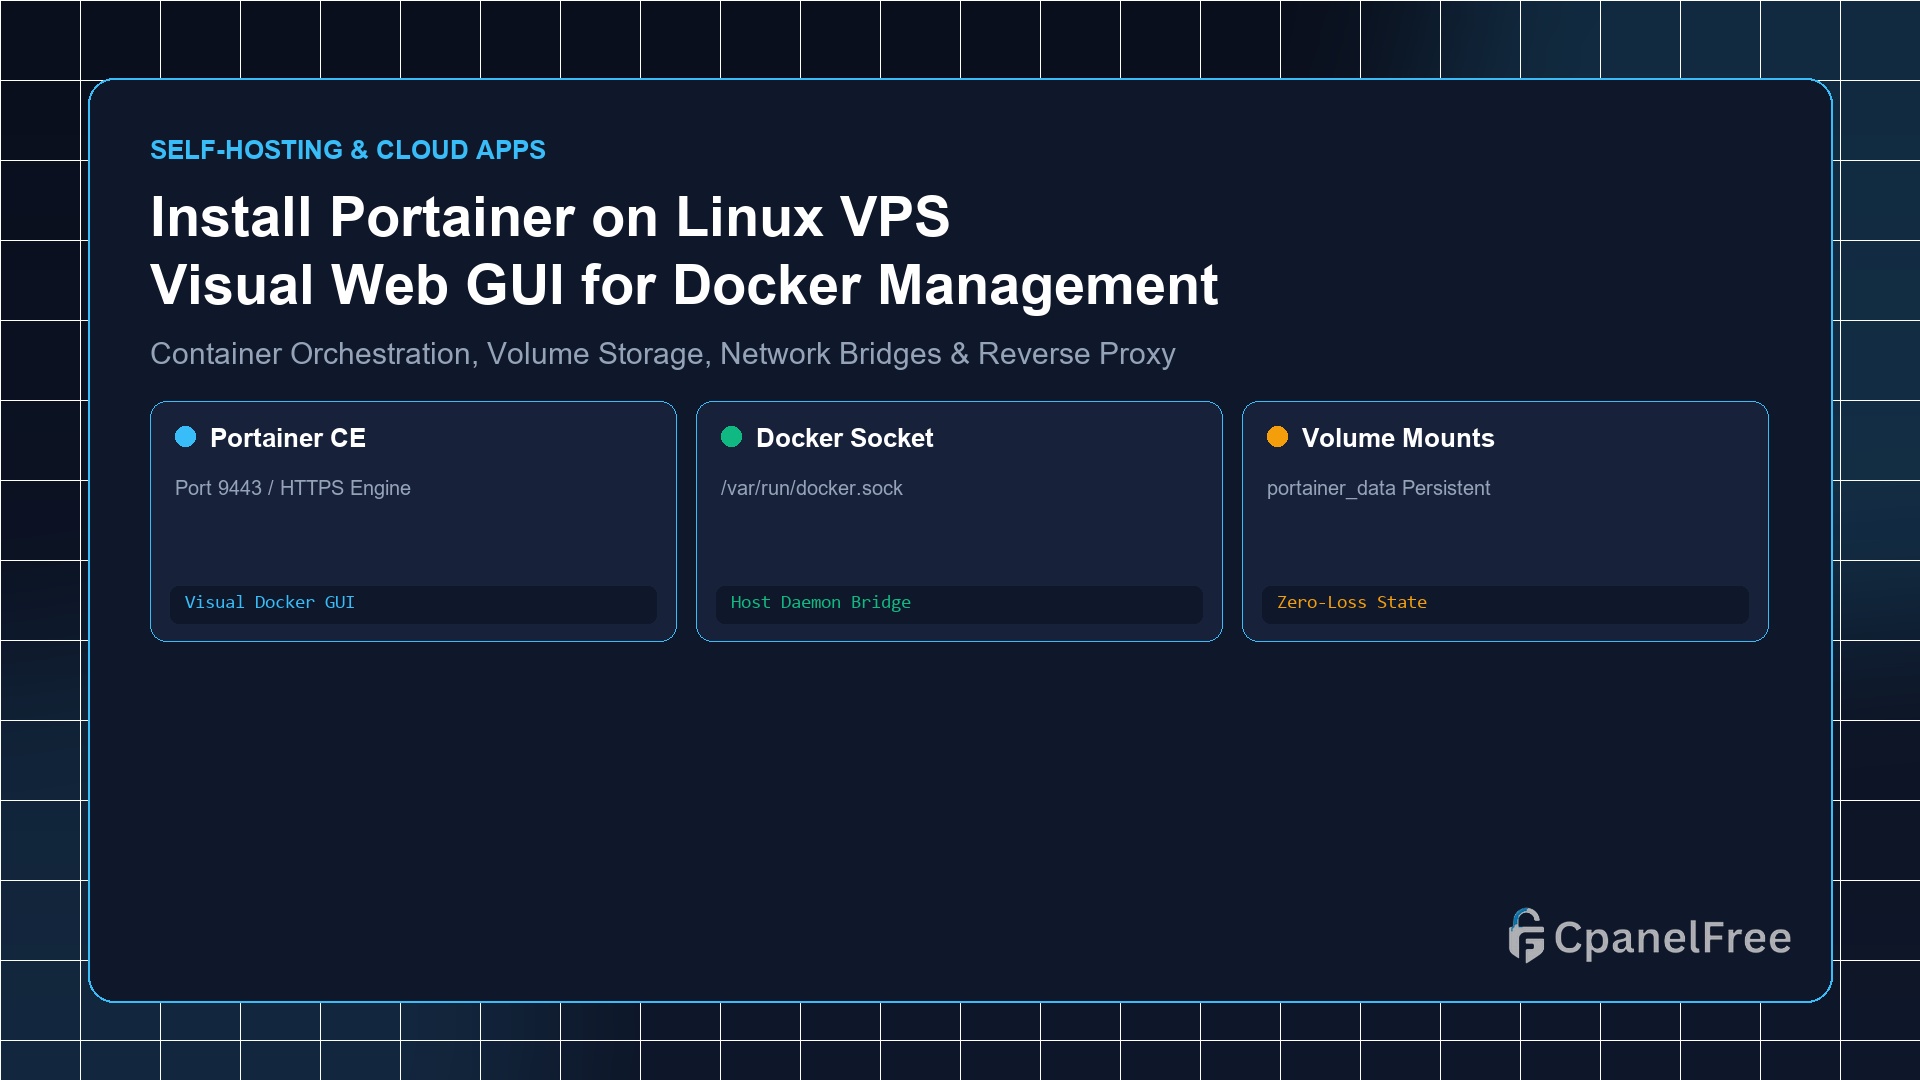
To deploy Portainer Community Edition (CE) on Ubuntu 24.04/22.04 LTS, first verify Docker is installed. Create a persistent volume with docker volume create portainer_data, then launch the official container with docker run -d -p 8000:8000 -p 9443:9443 --name portainer --restart=always -v /var/run/docker.sock:/var/run/docker.sock -v portainer_data:/data portainer/portainer-ce:latest. Access the management dashboard securely at https://YOUR_SERVER_IP:9443 within 5 minutes to set up your primary admin credentials.
Why Developers & Sysadmins Choose Portainer on Cloud VPS
While the Docker Command-Line Interface (CLI) is fast and powerful, managing dozens of isolated containers, image registries, volume binds, and overlay bridge networks across production Linux VPS servers quickly becomes error-prone. One misplaced container argument or orphaned volume can silently consume system RAM and disk inodes.
Portainer Community Edition (CE) delivers an enterprise-grade, lightweight web dashboard that connects directly to the host Docker daemon. With Portainer, you gain real-time visual telemetry on container CPU and RAM usage, one-click interactive terminal consoles, visual Docker Compose stack deployments, container log streaming, and automated image webhook updates—all while maintaining an ultra-lean footprint under 35MB of RAM.
In this comprehensive deployment guide, we will walk through setting up the official Docker Engine, launching the Portainer CE daemon with persistent storage, configuring an Nginx reverse proxy with automated Let’s Encrypt SSL, and securing the Docker socket against unauthorized intrusion.
Step 1: Preparing Ubuntu VPS & Installing Docker Engine
Before launching Portainer, verify that your VPS contains official Docker CE repository packages rather than legacy distribution builds:
# Update system repository cache and install dependencies
sudo apt update && sudo apt install -y ca-certificates curl gnupg lsb-release

# Install Docker's official GPG key
sudo install -m 0755 -d /etc/apt/keyrings
curl -fsSL https://download.docker.com/linux/ubuntu/gpg | sudo gpg --dearmor -o /etc/apt/keyrings/docker.gpg
sudo chmod a+r /etc/apt/keyrings/docker.gpg

# Add Docker APT repository
echo   "deb [arch=$(dpkg --print-architecture) signed-by=/etc/apt/keyrings/docker.gpg] https://download.docker.com/linux/ubuntu   $(lsb_release -cs) stable" | sudo tee /etc/apt/sources.list.d/docker.list > /dev/null

# Install Docker Engine and Docker Compose plugin
sudo apt update
sudo apt install -y docker-ce docker-ce-cli containerd.io docker-buildx-plugin docker-compose-plugin

# Enable and verify Docker daemon status
sudo systemctl enable --now docker
docker --version
Step 2: Creating Persistent Storage & Deploying Portainer CE
Portainer stores its internal SQLite database, cryptographic SSL certificates, and environment metadata inside /data. Creating a named Docker volume ensures that your configuration survives container upgrades or server reboots.
# Create dedicated persistent Docker volume
docker volume create portainer_data

# Run Portainer CE container
docker run -d   -p 8000:8000   -p 9443:9443   --name portainer   --restart=always   -v /var/run/docker.sock:/var/run/docker.sock   -v portainer_data:/data   portainer/portainer-ce:latest
Understanding the runtime flags:
-p 9443:9443: Exposes Portainer’s HTTPS Web UI encrypted with a self-signed certificate by default.-p 8000:8000: Optional TCP tunnel port used by the Portainer Edge Agent for remote multi-cluster management.-v /var/run/docker.sock:/var/run/docker.sock: Binds the local Unix domain socket, granting Portainer permission to communicate with the host Docker engine.--restart=always: Ensures Portainer restarts automatically upon system reboot or unexpected daemon crash.
Step 3: Initial Administrative Setup & Security Initialization
Open your browser and navigate to https://YOUR_SERVER_IP:9443. Your browser will display a temporary certificate warning because Portainer starts with an untrusted self-signed certificate. Proceed past the prompt.
Portainer enforces a strict 5-minute initialization window upon first launch. If you do not set your administrator password within 5 minutes, the web interface automatically shuts down to prevent remote hijacked takeovers. If locked out, restart the container: docker restart portainer.
- Create an administrator username (default:
admin) and a strong 16+ character password. - Click Create User.
- Select Get Started with the Local Environment to connect directly to the attached Docker socket.
- You will be redirected to the Portainer Dashboard, displaying total container count, CPU cores, RAM consumption, and active Docker volumes.
Step 4: Configuring Nginx Reverse Proxy with Trusted Let’s Encrypt SSL
Accessing your server management dashboard over an IP address with self-signed SSL is vulnerable to man-in-the-middle attacks. Setting up an Nginx reverse proxy mapped to a valid subdomain (e.g. portainer.yourdomain.com) provides zero-friction automated Let’s Encrypt certificates.
# Install Nginx and Certbot
sudo apt install -y nginx certbot python3-certbot-nginx

# Create Nginx server block configuration
sudo nano /etc/nginx/sites-available/portainer.conf
Insert the following production configuration block:
server {
    listen 80;
    server_name portainer.yourdomain.com;

    location / {
        proxy_pass https://127.0.0.1:9443;
        proxy_set_header Host $host;
        proxy_set_header X-Real-IP $remote_addr;
        proxy_set_header X-Forwarded-For $proxy_add_x_forwarded_for;
        proxy_set_header X-Forwarded-Proto https;

        # WebSocket support for Portainer interactive container terminals
        proxy_http_version 1.1;
        proxy_set_header Upgrade $http_upgrade;
        proxy_set_header Connection "upgrade";

        # Ignore Portainer self-signed backend certificate
        proxy_ssl_verify off;
    }
}
Enable the site configuration and provision the SSL certificate:
# Link configuration and test syntax
sudo ln -s /etc/nginx/sites-available/portainer.conf /etc/nginx/sites-enabled/
sudo nginx -t && sudo systemctl reload nginx

# Request automated Let's Encrypt certificate
sudo certbot --nginx -d portainer.yourdomain.com --non-interactive --agree-tos -m [email protected]
Step 5: Architectural Comparison: Portainer vs CLI vs Cloud Control Panels
| Feature / Metric | Portainer CE | Raw Docker CLI | CyberPanel / aaPanel |
|---|---|---|---|
| RAM Overhead | ~25 MB to 35 MB | 0 MB (CLI only) | 350 MB to 800 MB |
| Container Web UI | Full Visual Dashboard | None (SSH Terminal) | Basic Docker Manager |
| Interactive Web Shell | 1-Click in Browser | Manual docker exec |
Limited Terminal |
| Compose Stacks | Visual Web Editor + Git Sync | Manual YAML Files | Partial Templates |
Pro Sysadmin Tip: Securing the Docker Socket Against Privilege Escalation
Because the Docker daemon runs with root privileges, any software with unrestricted access to /var/run/docker.sock can theoretically compromise the host filesystem. When exposing Portainer in production:
- Always enforce Two-Factor Authentication (2FA) inside Portainer under Settings > Authentication.
- Restrict Nginx access to trusted sysadmin IP addresses using
allow YOUR_IP; deny all;rules. - Do not expose port 9443 directly to the public internet; bind it to
127.0.0.1:9443:9443if using Nginx reverse proxy.
Frequently Asked Questions (FAQ)
How do I upgrade Portainer CE to the latest release?
Upgrading is simple because all data resides in the persistent volume. Stop and remove the old container, pull the latest image, and re-run: docker stop portainer && docker rm portainer && docker pull portainer/portainer-ce:latest, followed by the original docker run command. All settings, credentials, and stacks will remain intact.
Can Portainer manage containers on multiple remote VPS servers?
Yes. Portainer supports multi-node management using the Portainer Edge Agent. You deploy a tiny agent container on your secondary servers, and they securely report back to your primary Portainer dashboard over encrypted tunnels.
Is Portainer Community Edition completely free for commercial use?
Yes. Portainer CE is 100% open-source under the zlib license and is completely free for both personal homelabs and commercial production infrastructure.
🔗 Recommended Related Technical Guides
Launch Containerized Workloads on CpanelFree Cloud VPS
Get blazing NVMe storage arrays, full root access, dedicated compute cores, and 1-click Docker support on our high-speed cloud infrastructure.